Can crusher progress
27/03/2015
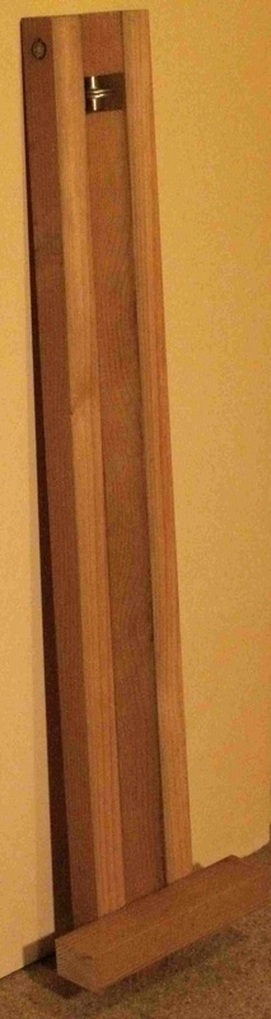
Basic 5-piece wood assembly done
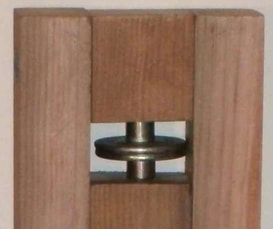
A close-up of the jaws with the jaw pieces in position, but not installed, as I need to get an auger bit of the right size.
|
Today, 27/03/15
1. Confirmed I could use the side pieces exactly as found, unmodified. 2. Made 3 saw cuts to create the pillar, top jaw-piece and foot bar. 3. Recessed the side pieces, and drilled through the top jaw and side pieces. 4. Inserted and tightened 10 x 150mm bolt and nut with washers under. (Cost $2.34) 5. Recessed the bottom end of the side pieces and drilled the foot bar and side pieces. 6. Screwed in the two 10 x 100 coach bolts with washers to attach the foot bar from the back. (Cost 2 @ $1.45) 7. Found 4 nice aluminium plates lying around which will serve as the retainers to keep the side uprights aligned front-to-back. 8. Found a superbly appropriately shaped piece of aluminium equipment cover (See below) for creating the wall-protector at the jaw area. It has flanges 12mm thick, which will fit with the unit sitting proud of the wall to accommodate both the 10mm skirting thickness and the jaw pieces, which are 6mm each side wider than the jaws. 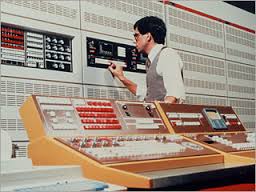
Far top right shows the cover concerned, which conceals a cable runway above this row of racks of an NEC NEAX61 electronic telephone exchange, a type which I used to install. (And no, that is not me!)
The cover was scavenged from work 20 years ago, and has already been hacked into to make a screen cover for my Kobo e-reader.
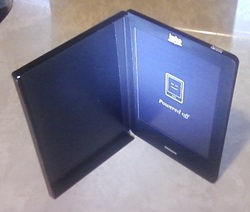
Black spray-painted screen protector on left of pic, hinged with the attaching black electrical insulation tape.
|
